Article
If your skis are dragging instead of gliding, the solution might be a proper wax job. Whether you're freeriding big mountain lines or heading out for a backcountry tour, knowing how to wax skis can dramatically improve performance, control, and equipment longevity. This comprehensive guide breaks down everything you need to maintain your ski base—from understanding the benefits of waxing to mastering hot wax application. Whether you're tuning alpine or cross country skis, follow these expert-backed tips to keep your gear snow-ready and fast all season.
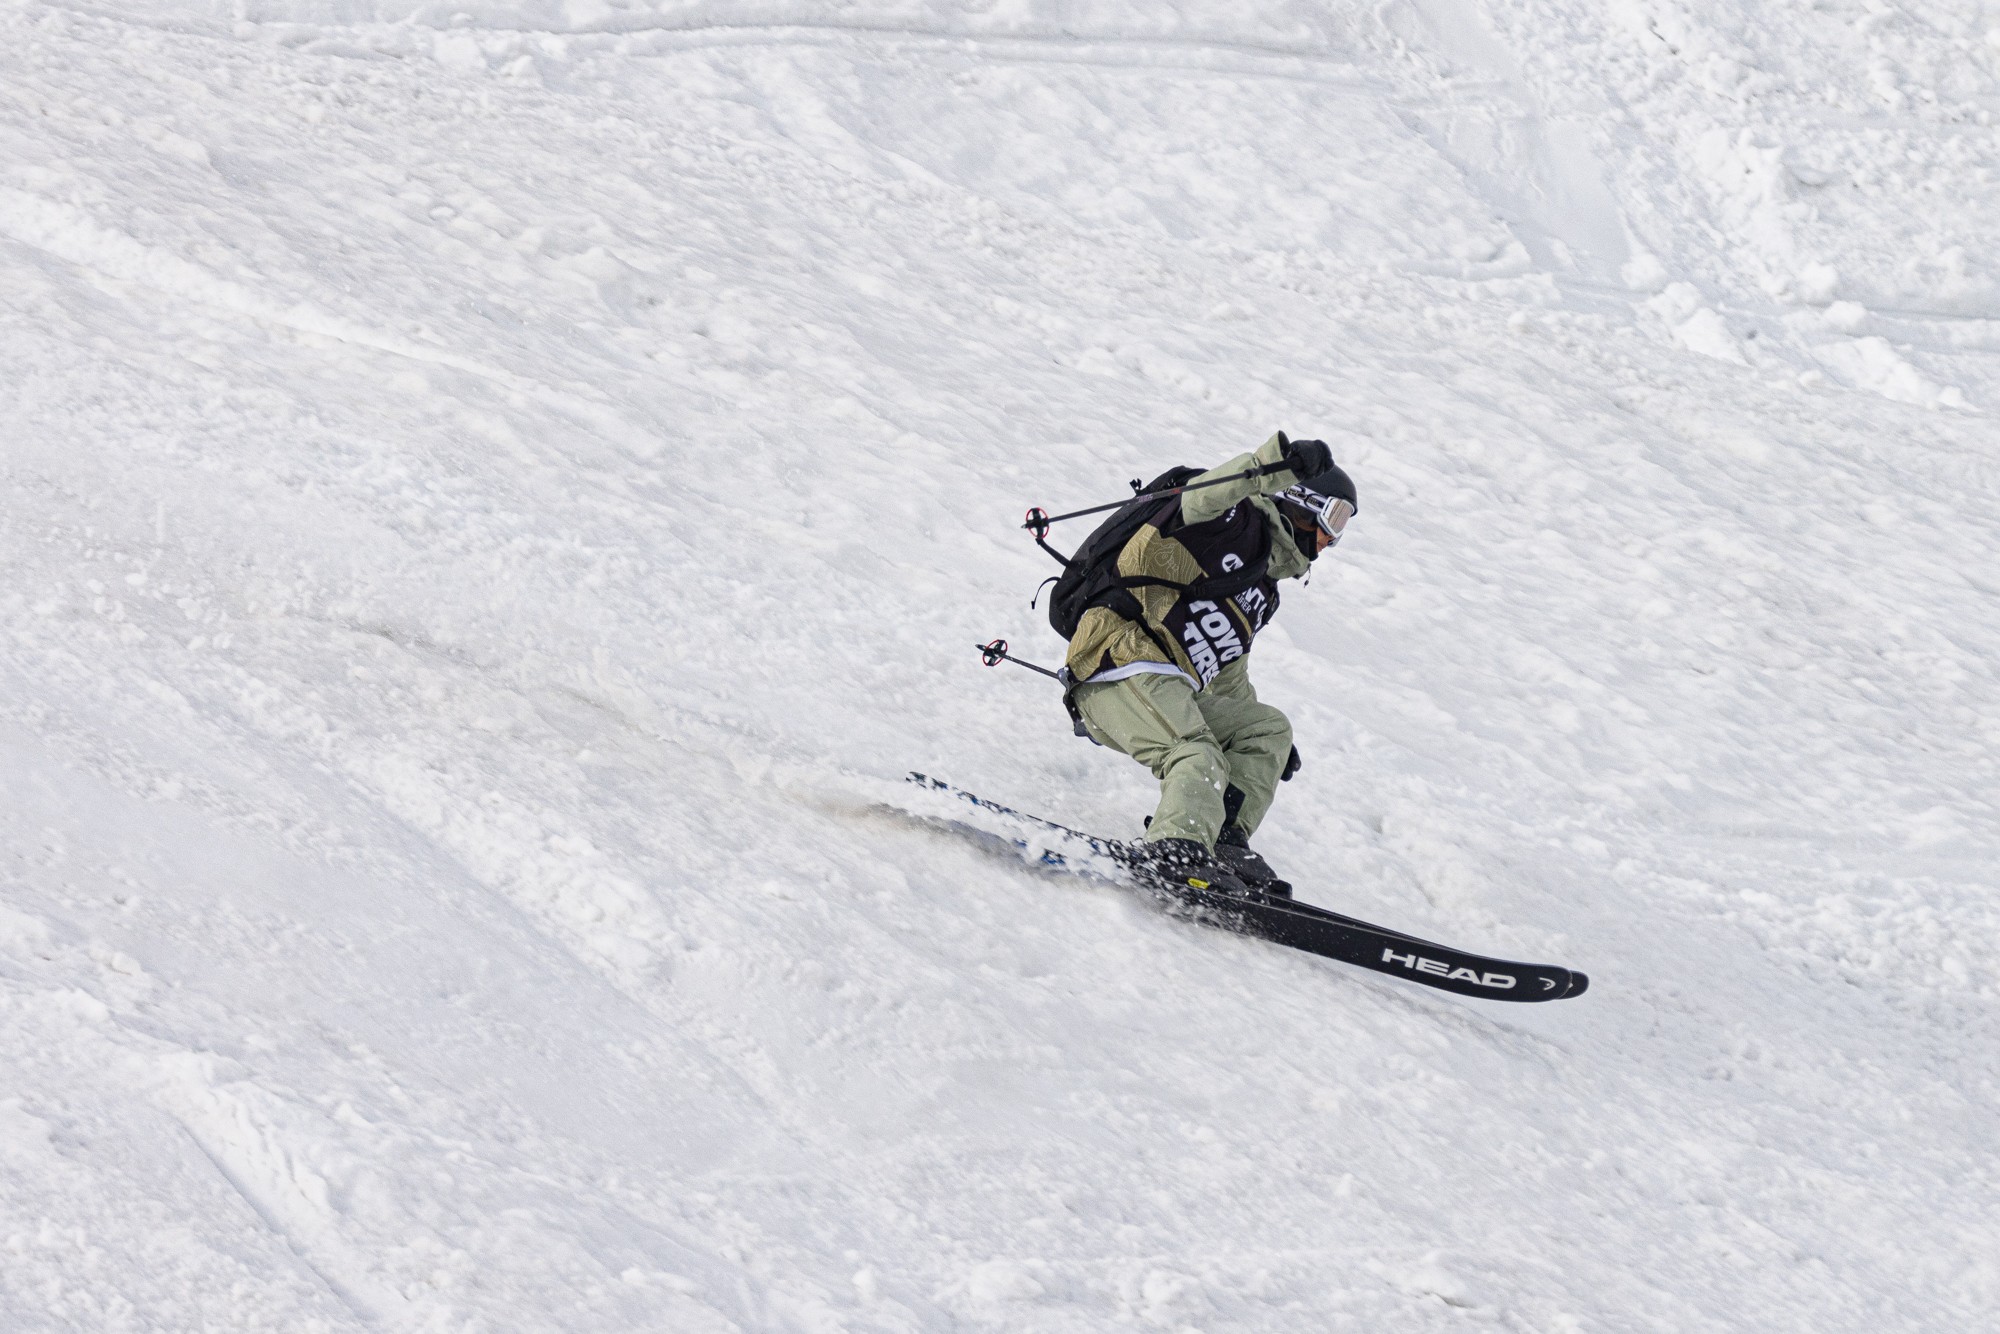
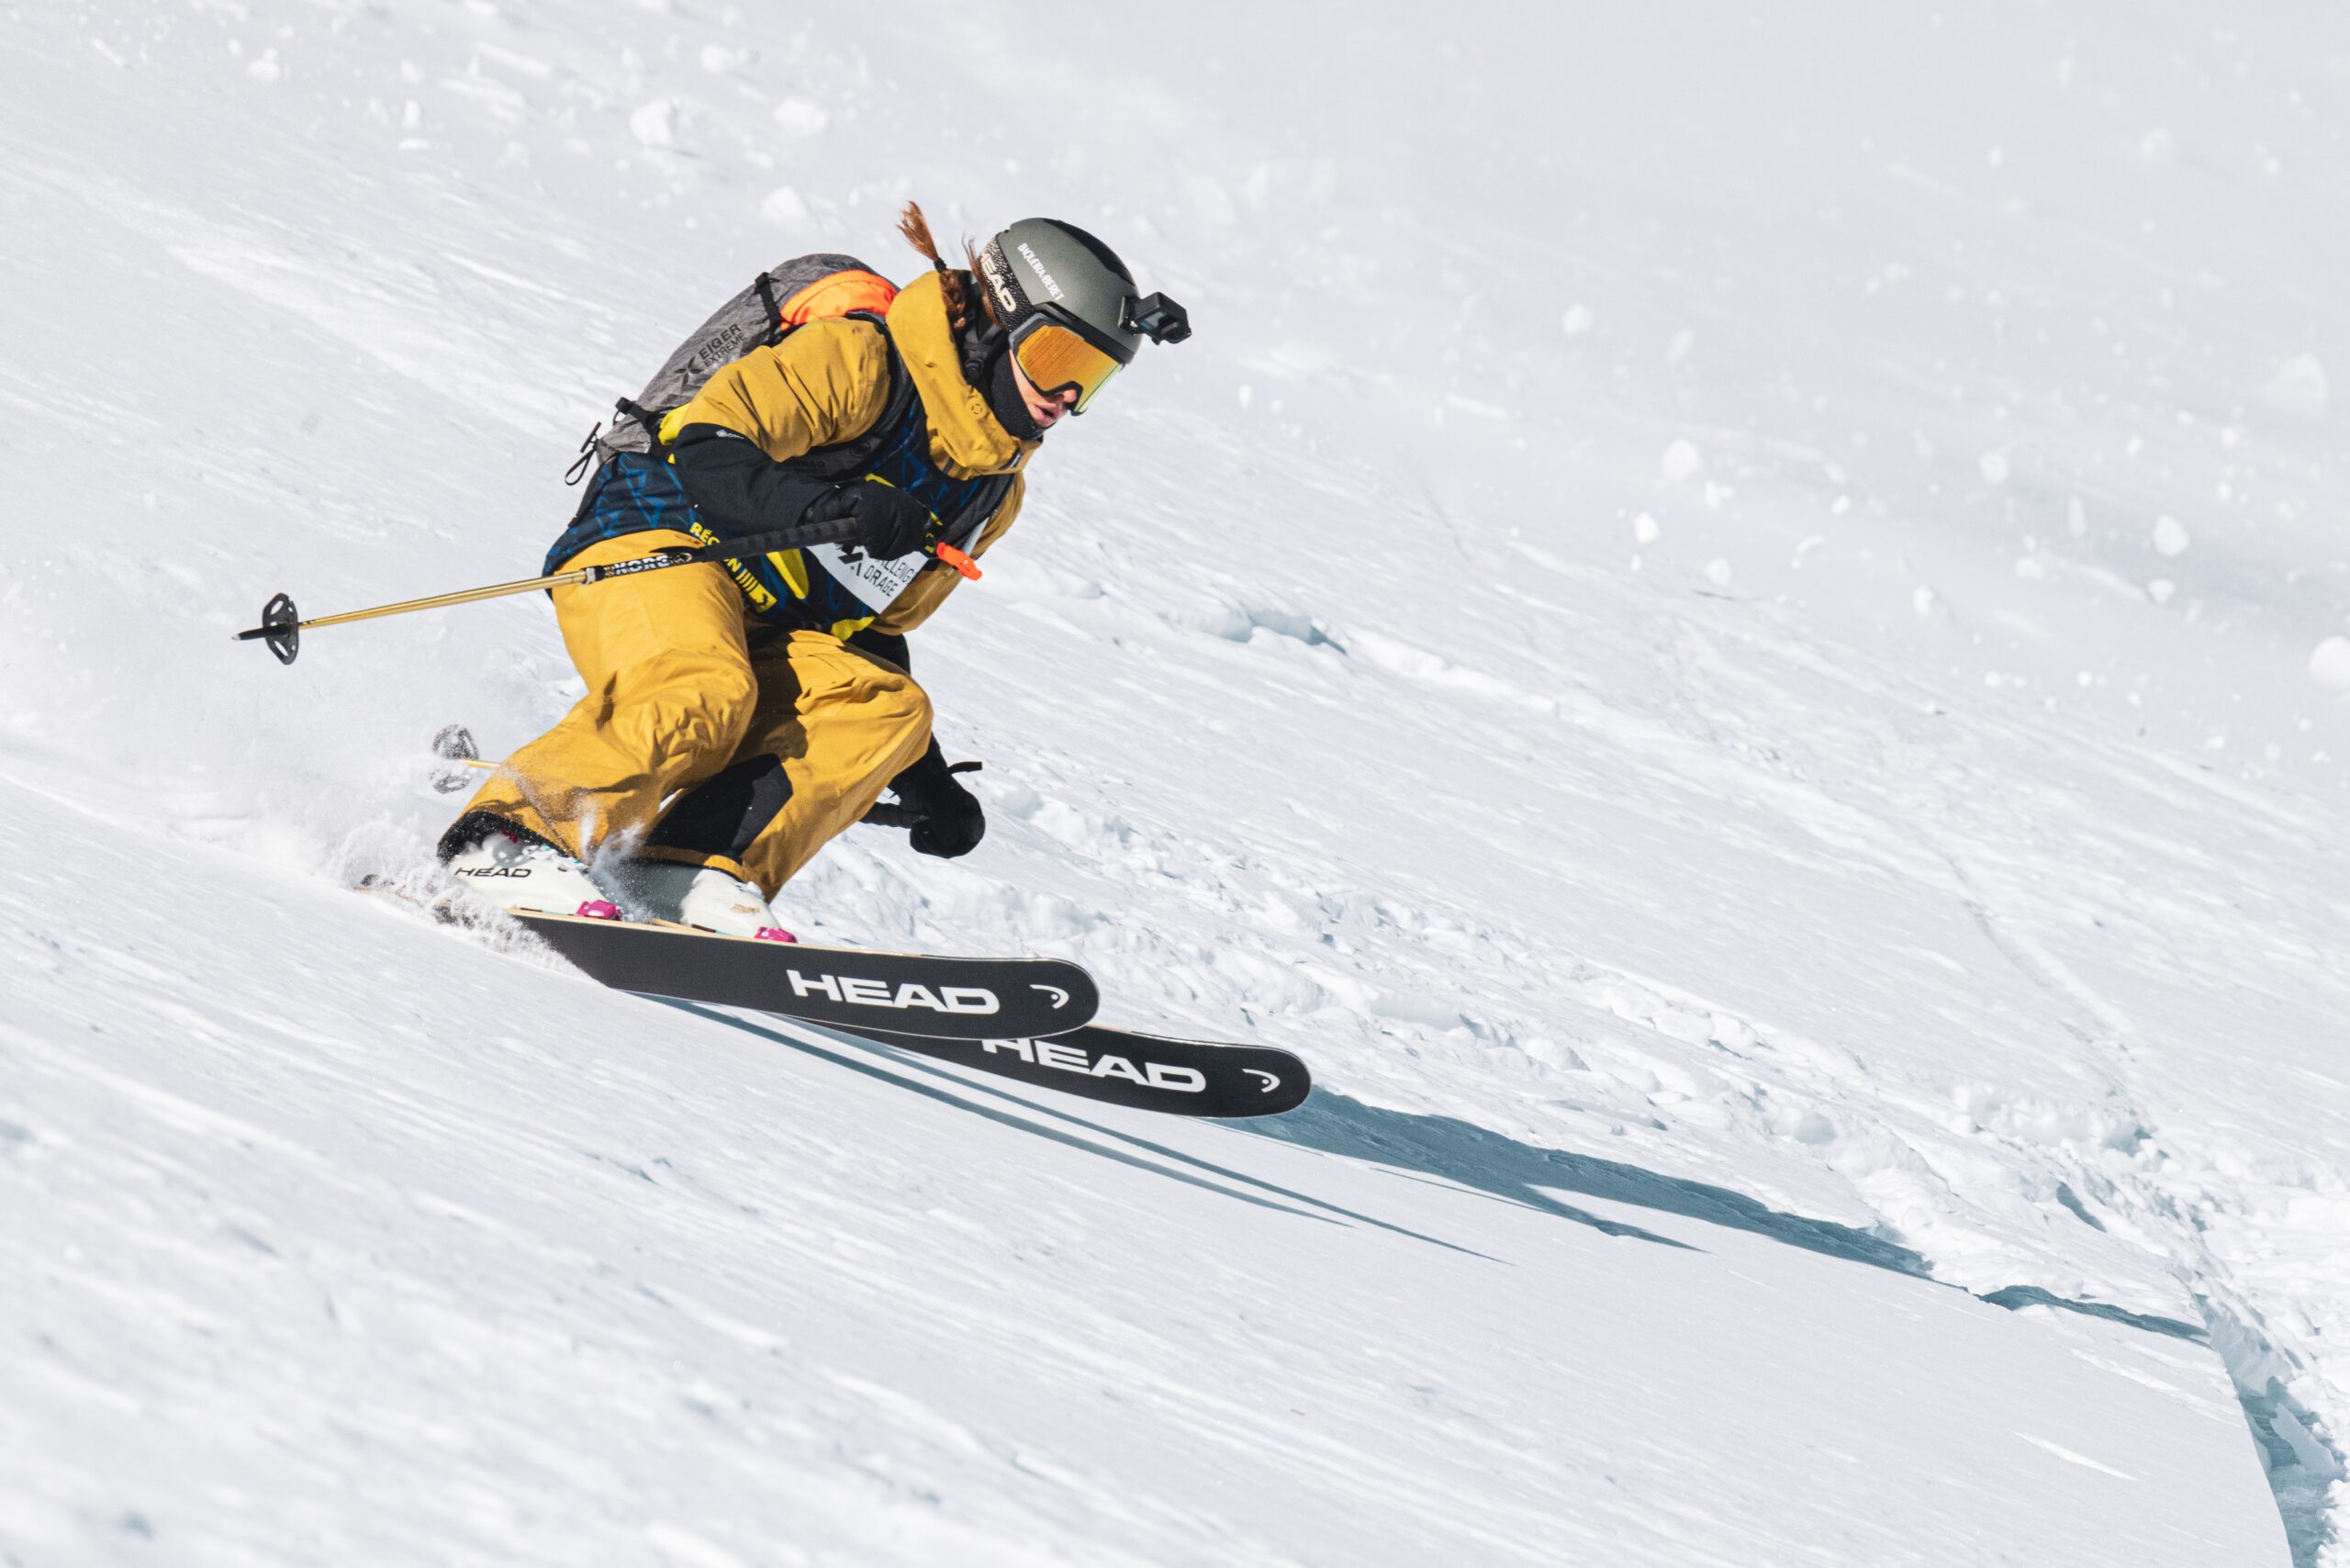
Waxing skis is not just about glide—it's about protection, speed, and performance. A properly waxed ski base reduces static friction, allowing smoother, faster movement across all snow types. Glide wax applied regularly preserves the wax base, preventing it from drying out and cracking. Additionally, the wax acts as a shield against dirt, debris, and ice abrasion, extending the life of your ski base and enhancing control in variable terrain. Whether you're charging lines in the backcountry or navigating icy resort runs, waxing your skis is essential maintenance.
To get started with ski waxing, you'll need a few essential tools:
These tools are crucial for maintaining ski bases effectively, whether you're working on alpine or cross country skis.
For ideal performance, choose waxes based on snow temperature and moisture. Use:
Key tips to remember:
Q: How often should I wax my skis?
A: Casual skiers can wax 1–2 times per season. If you're skiing every weekend or in harsh snow, wax every 4–6 outings.
Q: What are signs I need to wax?
A: Look for signs like poor glide, a white or dry-looking base, or skis feeling sluggish.
Q: Is hot waxing necessary?
A: For occasional skiers, rub-on or spray wax can work short-term. But hot waxing offers longer-lasting performance and better protection—especially for cross country skiing and deep powder days.
Regular waxing not only keeps your skis fast and responsive but also safeguards your gear for the entire season. By understanding waxing skis—proper tools, techniques, and timing—you unlock the full potential of your equipment and elevate your riding experience.